Replacing a roof requires the removal of existing roofing materials, an inspection of the area to determine repair needs, and the placement of a new roof. That sounds easy but there’s more to the process of roof replacement you need to know in order to be prepared for the process.
It’s best left to a professional roofer in Charlotte to determine what specific needs your roof has and the steps to completion. However, most roof installation processes require the following steps:
- Remove the existing roofing system to expose the roof decking
- Inspect the roof decking to determine if it needs repairs, complete those repairs
- Place the underlayment, installing ice and water shield in the valleys
- Inspect the flashings and make upgrades as suitable
- Install the roofing shingles or other roofing material to manufacturer specifications
1: Removal of Existing Shingles
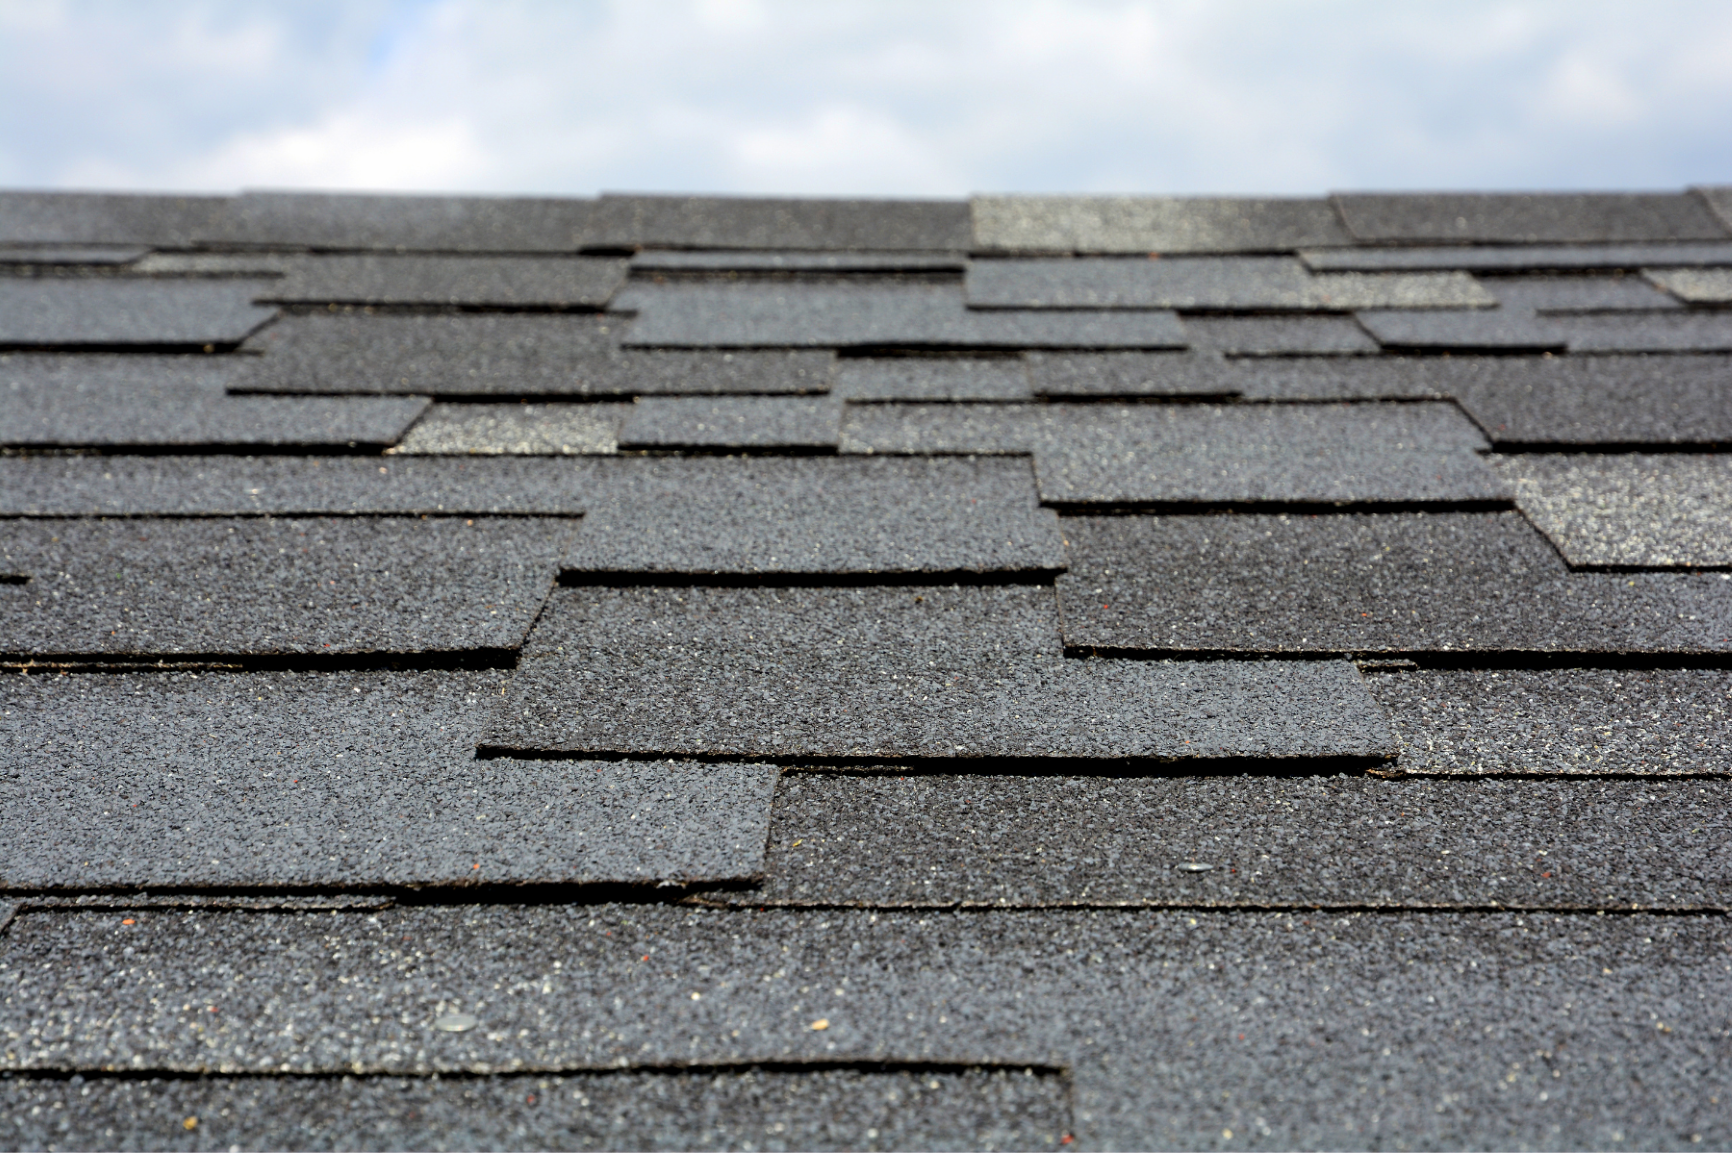
During an initial inspection of the roof, your roofing technician will look for signs that the entire roof needs to be repaired. This includes areas of worn-through shingles, cracked shingles, curled-up shingles, as well as areas of other damage. The more damage spread across the entire roof’s surface, the more important it will be to remove all shingles.
It’s not fully possible to understand the condition of the roof or work required until the existing shingles are removed from the structure. In this process, professionals work to safely remove all layers of roofing materials from the surface. This includes the removal of all shingles from the bottom layer up. This will expose the wood decking – the surface of your home’s actual roof covering the home.
2: Inspection of the Roof Decking
In a total roof replacement, the wood decking that supports the shingles and covers the home is exposed. This is the best time to look for any roof storm damage. There are many times on older roofs when water finds its way past the shingles creating damage to the decking. This can cause a wear down of the wood, holes to develop, and moisture buildup that damages the integrity of the wood itself.
When this happens, it may be necessary to remove the decking itself. This may be done on a piece-by-piece basis or one section of the roof at a time. The decking structure needs to be durable to support the new shingles or they will begin to fall off or become damaged over time.
3: The Underlayment is Placed
Once the decking wood is in good condition, the next step is to place the underlayment. This is a thin material that’s made of plastic or a plastic-like base. It is water-resistant to help keep out moisture. It works as a type of moisture barrier with the goal of protecting the wood decking from early rotting. Small tears in it can be dangerous to that structure.
Some type of underlayment is made of a felt-like material. These have an asphalt base that works to protect the decking surface.
Ice and water shield is a rolled roofing that self-adheres to the plywood decking. This is installed in the valleys and areas of high water concentration to provide an additional layer under the shingles to further ensure these areas are waterproof.
4: Inspection and Upgrades of Flashing
Around many of the areas of the roof are objects that need flashing placed. Flashing is a type of rust-proof material that is placed at the edges of areas such as the chimney and any roof to wall connection points. It helps to provide a highly protective barrier to water getting into these high-risk areas.
Your roofing contractor will take a closer look at the flashing that’s already in place to determine if it remains in good condition. If so, it may not need to be replaced. That can save money on the project. If it is damaged, replacing it may be essential.
Whenever necessary flashing is applied to the area after the underlayment is placed. This includes the ridge vent, pipe boots and any other areas of the roofing project that may have edges or angles. This helps prevent leaks but also helps to ensure proper runoff of water in areas like the valleys where water can collect easily.
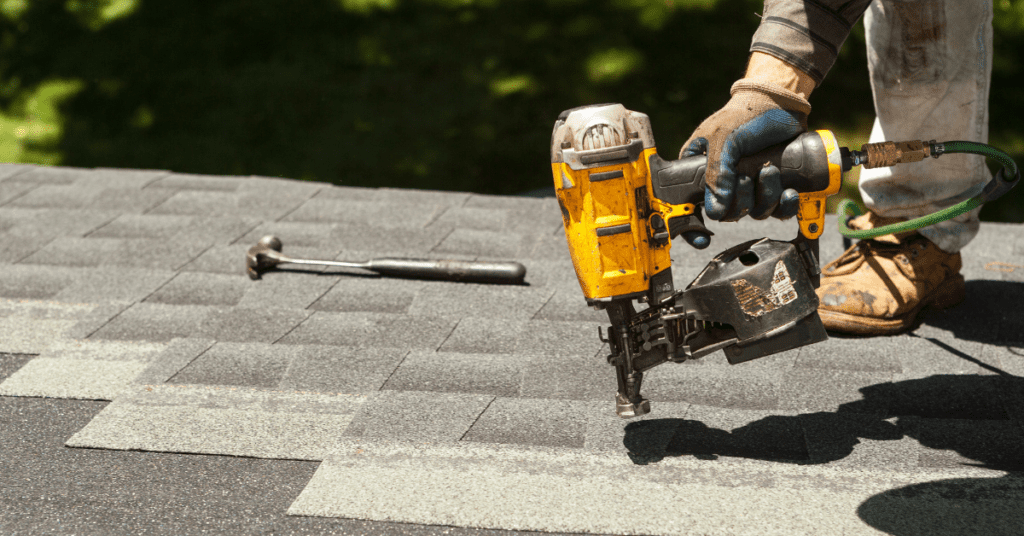
5: Placement of the Shingles or Roofing Material
The roof replacement process involves the addition of new shingles. Depending on the type of shingle purchased, the process may involve installing one course at a time, overlapping each other to create the proper water shedding. There is a wide range of products on the market, and it takes a skilled contractor to install them properly according to the manufacturer’s requirements. Doing this ensures the roof warranty remains in place.
There are also times when the roofing fascia or soffit installation, and other surrounding materials, such as drip edging or gutter installation needs to be inspected and replaced as well.. That’s often determined once the roof decking is exposed, allowing for a full visual of the entire roofing structure. It’s not always necessary to replace these components, only when there is damage or rot to them.
After all of this is complete, the roofing contractor still needs to examine the project to ensure the work is done properly. This includes full clean-up of the space to minimize any risk of roof nails being left in the landscaping or shingles strewn around.
Roof Replacement with Vision Roofing
While a roof replacement can seem like a big project, it’s done the same way time and time again by the roofing contractor. Each job is unique with specific needs. It’s always fully communicated to you what to expect every step of the way.
You can trust in the process with Vision Roofing. Contact our dedicated roofing team of professionals now to find out what we can do to help you replace your roofing. Call us now for a quote and inspection.